GETTING STARTED
Your first quote, one step at a time.
You don’t need to learn everything at once. Set up your business, make a quote, turn it into an invoice, then record the payment when you receive it.
You can read this guide without an account. Screenshots show fictional sample jobs and amounts.
STEP 1
Add your business details.
- Sign in. Open More → Settings.
- Enter your business name and contact details. Add a logo if you have one.
- Add instructions for how customers should pay you, such as cash, check or your existing payment method.
- Tap Save Business Profile.
These details appear on your documents. Payment instructions tell customers how to pay separately; they do not connect a bank or card processor.
STEP 2
Create your first quote.
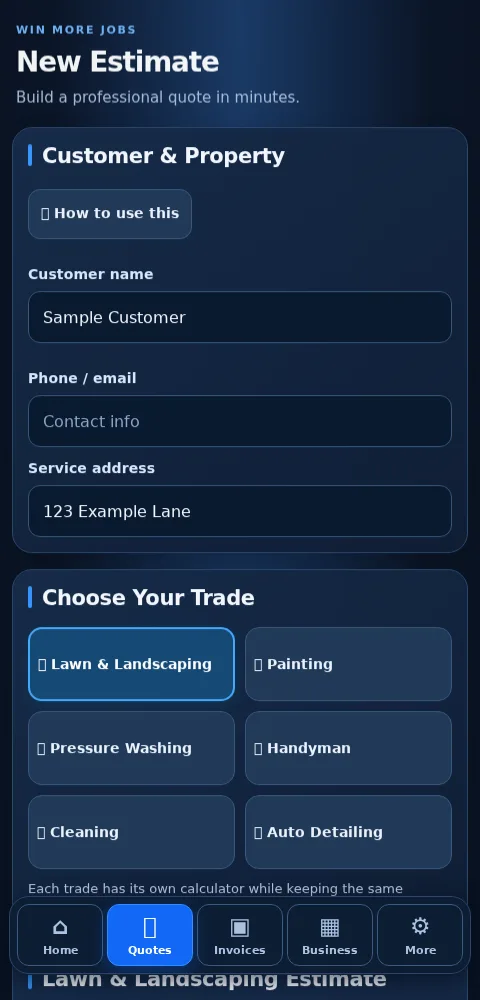
- Open Quotes. Enter the customer’s name, contact information and job address.
- Use Any Business for your own products, services and prices, or choose an optional trade calculator.
- Follow Next through the details. Add only the extras you need.
- Review the work description and total, then save the estimate to your account.
Back and Next keep your entries while you work on the page. Saving at the review step keeps a cloud copy.
For example: a $150 service plus a $50 extra should show a $200 total. Check your own prices before sharing.
Use Share / Text / Email when you’re ready. Nothing is sent to a customer until you share it.
STEP 3
Turn an accepted quote into an invoice.
- Open the saved estimate in your records.
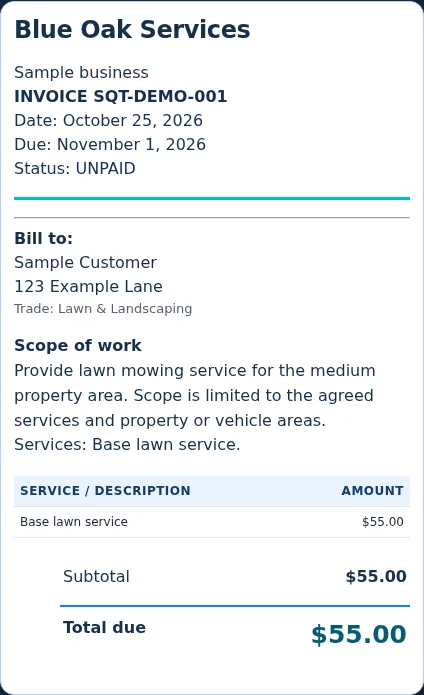
- After the customer agrees, choose Customer Accepted — Create Invoice.
- Check the customer, services, total, due date and payment instructions.
- Save and share the invoice. Use your browser’s print option to print it or save it as a PDF.
On iPhone, you may need Safari Share → Print.
Creating an invoice does not collect money or mark it paid. Your customer pays using the payment method you arrange separately.
STEP 4
Record payments and check your month.
- After you receive the full invoice payment, open the invoice and mark it paid.
- Enter the actual payment date. This determines which month the payment appears in.
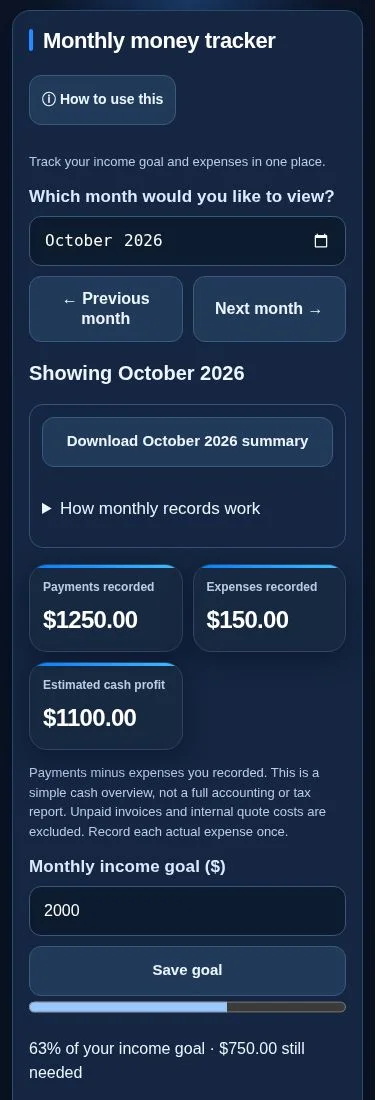
- On Home, open Money Tracker and choose the month you want.
- Set an income goal if you want. Enter business expenses with the amount, date paid and category, then save each expense.
Paid invoices with payment dates in that month count toward the income goal. Recorded expenses reduce the estimated cash profit.
For example: $1,000 in recorded payments minus $200 in recorded expenses shows $800 estimated cash profit.
Choose a previous month to review saved records or download the month’s summary. Keep your receipts: this is a simple money overview, not a complete accounting or tax report. Partial invoice payments are not supported yet.
Need a reminder while you work?
Open the app’s help guides for step-by-step instructions. If you’re stuck, email Kenneth. Tell me which step you’re on; please don’t send passwords, card numbers or customer records.
Look through the app preview — no signup required →Start 7-day free trialFirst-time subscribers: card required, then $12.99 USD/month, renewing automatically until canceled. Cancel in Manage Billing before the trial ends to avoid the first charge.
Read the plan and billing details →Plan jobs on your calendar
Open Business → Schedule. Choose a month, tap a day, then tap Add job on selected day. Enter the service, customer, address and local time, and save. You can choose a saved customer to fill their details. Use Edit to move a job or update its status. The calendar does not send reminders, check overlaps or sync with external calendars.
Share a private customer link
Save your estimate or invoice, then open its Private quote link or Private invoice link section in Records. Create the link, preview it and copy it into your own text or email. Save edits before creating a link: the portal shares the saved copy. A replacement link disables the previous one.
Customers can view that one document without signing up. On a quote they can enter their name and accept or decline once. Open Business → Customer links → Refresh responses to see their reply or revoke access. Responding does not create an invoice or record a payment. Links last 30 days, and anyone with the link can open it, so send it only to the intended customer. After changing a saved document, create and send a new link.